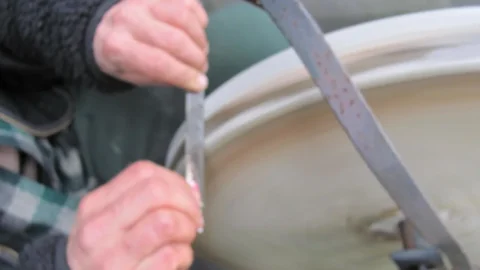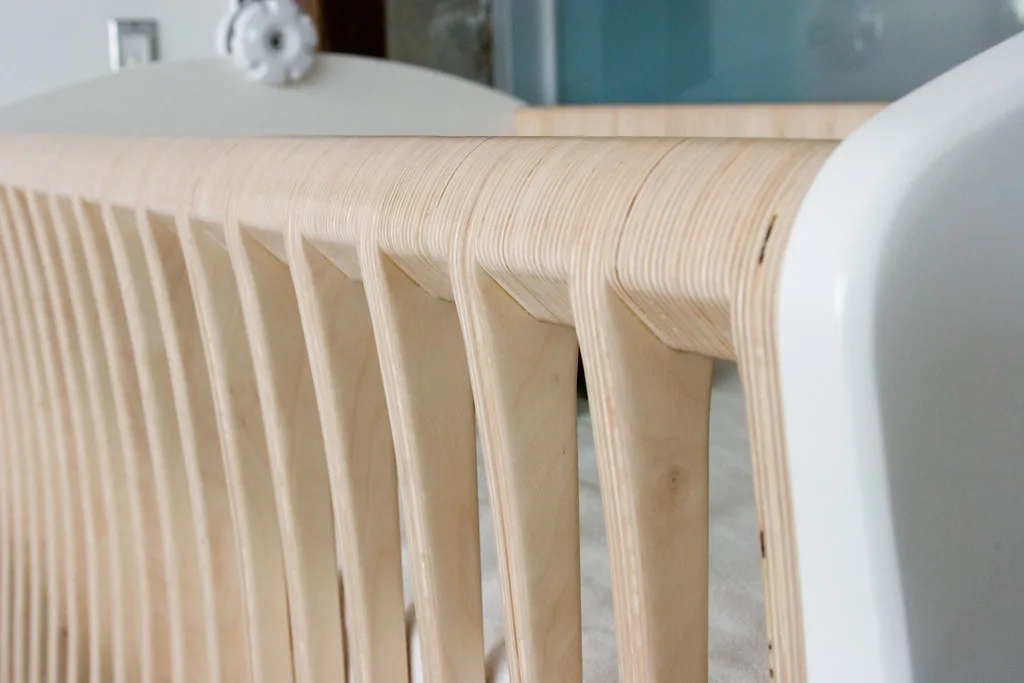
The best way to apply water-based poly is in thin coats with a fine brush or a foam applicator. [1] If you have used oil-based polyurethane before, the basic technique is similar, so most of your habits carry over. [1]
Thin coats matter because they level out smoothly and dry clear, while a heavy coat is where streaks, drips and bubbles show up. Water-based finish also dries fast, so a light, even pass gives you a better result than going back over wet areas.
The process has four parts: sand the wood smooth, wipe away the dust, lay on thin coats, and sand lightly between coats. You’ll also learn which applicator suits flat tops versus edges, and how many coats a tabletop needs compared with a picture frame.
Sand the wood smooth before the first coat
Sanding is the first step because a smooth surface is what lets a clear water-based finish lie flat and even. Work with the grain and finish with a fine grit, so the wood feels uniform under your hand before any poly goes on.
Why this step is on the list
Water-based poly dries clear and thin, so it hides almost nothing underneath it. A cross-grain scratch, a patch of dried glue or a swirl from a sander can look faint on bare wood and stand out once the finish wets the surface. Anything you leave in the wood now will show through every coat you add later.
That makes prep the step where most of your final smoothness is decided. A careful sanding job takes less time than stripping and redoing a finish that highlights flaws.
How to sand for a clean result
-
Sand along the grain on every pass, including the last one, so any fine scratches line up with the wood’s natural pattern and blend in.
-
Move from coarser paper to finer paper in steps, and finish with a fine grit for the smoothest surface.
-
Look at the wood under a low, angled light to spot scratches, dents and glue spots before you move on.
-
Sand out any flaw you find now; the finish will not fill or hide it.
-
Remove all sanding dust from the surface, corners and pores before finishing, because trapped dust turns into bumps in the coat.
Who this step suits
Every project needs it, but it matters most on pieces people see up close or touch often: tabletops, cabinet doors, shelves and trim. Take extra care with light-colored woods like maple or birch. Clear water-based finish adds little color, so scratches and blotches on these woods stay easy to see.
If you are refinishing an old piece, sand until the surface is evenly dull with no shiny spots of old finish left. Those spots can make the new coat look patchy.

Wipe off dust with a water-dampened cloth
Before each coat of water-based poly, wipe the surface with a cloth dampened with plain water. Water is the right solvent for a water-based finish, so it picks up fine dust without leaving anything behind that could fight the next coat. [2]
This step is on the list because dust is the most common cause of a gritty, bumpy finish. Even after you vacuum or brush off sanding debris, a fine film settles into the grain and onto flat panels. A damp wipe catches what a dry rag or brush pushes around.
Why water and not mineral spirits
The liquid on your cloth should match the finish you’re applying. For water-based polyurethane you dampen the cloth with water, and for oil-based polyurethane you dampen it with mineral spirits. [2]
Keep mineral spirits for oil-based projects. If you’ve been refinishing with oil-based products in the same shop, grab a fresh cloth so you don’t carry solvent residue onto a piece you’re finishing with water-based poly.
How to do it
-
Wring the cloth out until it’s barely damp, with no drips. You want to lift dust, not soak the wood.
-
Wipe with the grain in long passes, refolding the cloth to a clean face as it picks up dust.
-
Get into corners, edges and routed profiles, where dust tends to collect.
-
Let the surface dry completely before you brush on the next coat. Coating over damp wood can trap moisture under the film.
Who it suits
This wipe suits anyone using a water-based finish, from a first-timer coating a bookshelf to someone recoating a tabletop. It’s especially handy if you don’t own tack cloths or work in a garage where dust is hard to control. The surface is ready when it looks evenly dry and feels smooth under your fingertips.
Which applicator gives the smoothest result?
Use a fine brush when your project has edges, corners or detail, and a foam applicator when you are coating broad, flat surfaces. Both are the standard tools for laying on thin coats of water-based poly [1]. Many projects call for both, so it pays to have one of each on hand.
Fine brush for edges and detail
A fine brush gets finish into places a pad can’t reach. Think of the profiled edge of a tabletop, the spindles on a chair or the inside corners of a drawer front. The bristles follow the shape, so you can lay a thin, even film without pooling finish in the crevices [1].
This suits you if you’re finishing furniture with moldings, turned legs or raised panels. Pick a brush made for water-based finishes, because the finish is thin and fine bristles leave fewer marks.
Foam applicator for flat surfaces
A foam applicator glides across large, flat areas and spreads finish evenly [1]. It works well on a tabletop, shelf, cabinet side or door panel. On a 3-foot shelf, for example, you can coat the full length in one smooth pass along the grain.
This suits first-timers who worry about leaving visible strokes on a big surface. Foam is less useful on sharp edges and tight detail, where it can drag or leave a bead of finish.
Start with a clean applicator
Whichever tool you choose, start with it clean [3]. Leftover dust, dried finish or loose bristles end up embedded in your coat, and water-based poly dries clear enough to show every speck.
-
Use a fine brush on edges, profiles and turned parts.
-
Use a foam pad on tops, panels and shelves.
-
Use a new foam pad or a freshly cleaned brush for each session.
Load the brush lightly and lay on thin coats
Load the brush lightly, then lay the finish on in thin, even coats. A lightly loaded brush puts down less finish than you might expect, and that thin film levels out on its own instead of running, sagging or trapping bubbles.
Load the brush, then let it drip
Dip the bristles into the poly, lift the brush out and hold it over the container for a moment so the excess drips back in. [3] You want the bristles wet, not dripping. If finish runs down the handle or drips onto the board on the way over, the brush is carrying too much.
A good habit is to dip only the bottom third of the bristles. That keeps the heel of the brush clean, so you don’t get globs squeezing out halfway through a stroke.
Lay it on with long strokes along the grain
Apply a thin coat. [1] Start a few inches in from one end of the board and brush toward the edge, then come back the other way so the strokes overlap slightly. Keep every stroke running along the grain. On a tabletop, that means full-length passes from end to end rather than short dabs across the width.
-
Use long, continuous strokes that run the length of the board.
-
Overlap each pass a little into the wet edge of the last one.
-
Reload lightly whenever the brush starts to drag.
Leave it alone once it starts to set
After a section is covered, let it be. Going back over finish that has started to tack up drags the surface and leaves brush marks and streaks. If you spot a missed spot after the area has started to set, leave it and catch it on the next coat.
Protect your space while you work
Work in a room with good airflow, such as an open garage or a room with a window and a fan. Lay drop cloths or cardboard under the piece, and cover nearby floors and surfaces so any drips land somewhere harmless.
Sand lightly between coats
Light sanding between coats is what turns a rough, slightly fuzzy first coat into a smooth one. Water-based poly raises the grain, so the first coat often feels like fine sandpaper under your hand. A quick scuff knocks those raised fibers down and gives the next coat a flat surface to level out on.
Why it’s on the list
Water is the carrier in this finish, and water swells the tiny wood fibers at the surface. When the coat dries, those fibers stand up, locked in place by the finish. If you skip sanding, each new coat builds on that texture, and you end up with a finish that looks fine but feels rough.
Scuffing also dulls the surface slightly. That gives the next coat something to grip so the layers bond to each other.
How to do it
-
Let the coat dry fully first. Sanding a soft or tacky coat gums up the paper and drags marks into the finish.
-
Use a fine abrasive and a light hand. Fine sandpaper or a fine sanding pad works; you only want to knock down the bumps.
-
Sand with the grain, using little pressure. The goal is a uniform, dull sheen with no shiny low spots.
-
Stop before you cut through. Edges and corners have the thinnest finish, so give them just a pass or two.
-
Wipe away all the dust with a damp cloth before the next coat. For water-based polyurethane, dampen the cloth with water [2].
Run your fingertips across the surface when you’re done: it should feel smooth and even.
Who it suits
This step is for anyone who wants a finish that feels as good as it looks, from a first-time tabletop refinisher to someone coating cabinet doors. It matters most on surfaces you touch often, like tabletops, armrests and shelves. You can usually skip it before the very last coat, since that one is meant to stay untouched as it dries.
How many coats, and when can you use the piece?
Plan on several thin coats rather than one or two heavy ones, because each thin layer adds only a little protection on its own. Water-based poly goes on in thin coats with a fine brush or foam applicator [1], so the durability comes from stacking those layers. How many you need depends on how hard the piece will be used.
Match the coat count to the job
A tabletop that gets plates, elbows and spilled drinks needs a tougher film than a picture frame that hangs on a wall. The more contact and abrasion a surface sees, the more coats you should build up before you call it done.
-
High-wear surfaces such as tabletops, desks, floors and chair seats get extra coats, since they take daily rubbing, scratches and moisture.
-
Decorative pieces such as shelves, frames and boxes can stop sooner, because they mostly need a clear, even sheen with light protection.
-
In-between items such as dressers and cabinet doors land in the middle: they get handled often but rarely see liquids or heavy scraping.
-
Edges and corners wear first on any piece, so give them the same attention as the flat faces when you count coats.
A practical way to decide is to look at the surface after your last sanded coat. If it still feels thin or you can see dry, unprotected patches on a high-use top, add another coat.
Recoat time and cure time are two different waits
Recoat time is how long a coat needs before you can sand it and apply the next one. Cure time is how long the finish needs to harden fully before the piece can handle normal use, and it runs longer than the recoat window.
Both times vary by brand and product, so read the label on your specific can for each number. Then plan the project around them: a piece that feels dry to the touch can still mark easily if you set heavy items on it or put it into service before it has cured.
Getting a streak-free finish every time
Thin coats on clean wood give you a streak-free finish. Most streaks and bumps come from a heavy coat or dust left on the surface, so keep every layer light and every surface clean.
On your next project, sand the piece smooth and wipe it with a cloth dampened with water, since water-based poly calls for water rather than mineral spirits. [2] Then lay on a thin coat with a fine brush or a foam applicator. [1] Scuff the surface lightly once each coat dries and wipe the dust away before the next one. Try the whole routine on a scrap board or the back of a shelf first, so you get a feel for how much finish to load before you work on the visible surfaces.