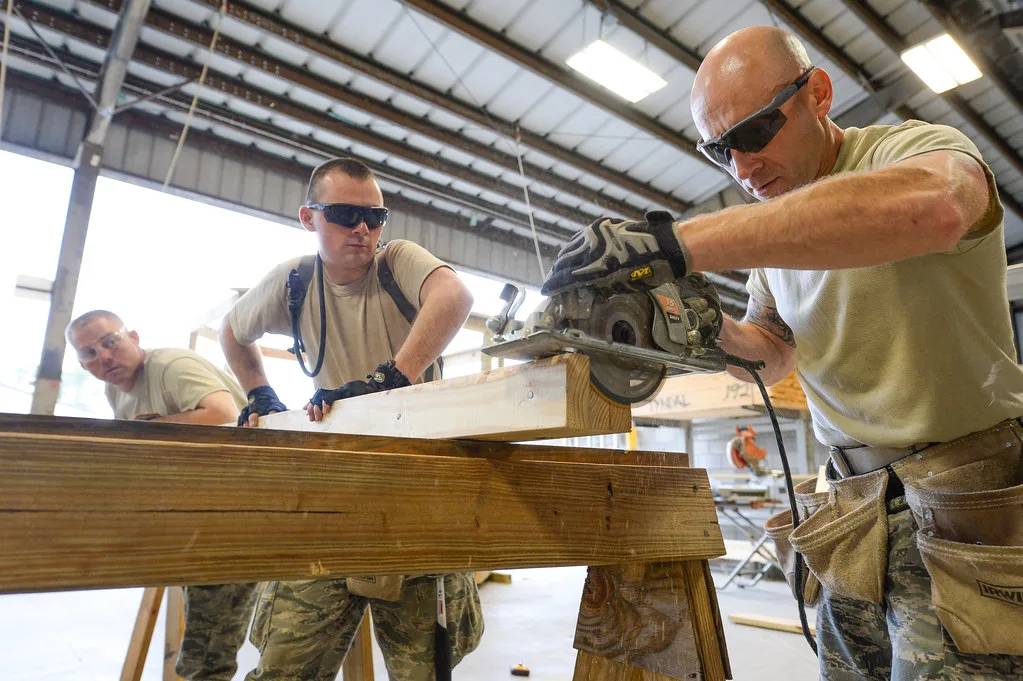
Durable saw features for construction come down to three areas: the blade material, the guard and anti-kickback parts, and the bevel adjustment. Each one affects how well a saw holds up under daily jobsite use, so start with them before you compare models. Blade material is the first place to look. Choosing the right material can enhance durability and precision, which gives you clean, accurate cuts [1].
Guard and anti-kickback parts come next. The saw guard, splitter and anti-kickback device should be used for all possible sawing operations [2]. A saw that is hard to set up or unsafe to run will not last long in daily use. Finally, look at how easily the saw adjusts for bevel cuts, since setup speed affects how often you will use it correctly. Learn more in Saw Features for Repeatable Precision Cuts: What to Look For.
Which blade material holds up longest?
Carbide-tipped blades are the durable choice for most everyday framing and sheet-goods work. They are designed for greater durability and wear resistance [3]. On a long day, that means fewer blade swaps and less downtime.
Carbide-tipped blades for everyday cuts
A carbide tip keeps its edge through many cuts. When teeth wear down, you have to push the saw harder, and the cut starts to burn, tear, or drift off your line. A carbide-tipped blade keeps cutting at a steady pace for longer.
Match the blade to the material you cut most. A carbide-tipped blade suits framing lumber, while a finer-tooth blade suits finish work. Plywood and fine-finish blades are used for finer finished work [3], so a plywood cut for shelving or cabinets is a good case for a finer tooth count.
Diamond-tipped blades for harder materials
Diamond-tipped blades are the other tip type to know about [1]. They suit harder materials than wood, and that is their job. Think of a diamond blade as a specialist for one kind of material, not an all-purpose upgrade.
Because the material decides the choice, pick the blade for the job rather than the one with the highest price. A diamond blade on framing lumber wastes money. A carbide blade on a hard material wears out quickly.
Why a durable blade also cuts cleaner
A durable blade does more than last. Selecting the right material can enhance durability and precision, ensuring clean and accurate cuts [1]. The same sharp edge that resists wear also keeps the cut straight.
On a real job, a sharp blade leaves a smooth edge on a 2×6 that is ready to nail, so you spend less time sanding or trimming. A dull blade tears the fibers, leaves a ragged edge, and can pull the saw off line. That costs you time on the next cut.
Your next step
Start with the material you cut most often. If that is framing lumber or sheathing, a carbide-tipped blade is the durable pick for everyday work. If you regularly cut harder materials, add a diamond-tipped blade for those jobs and keep a carbide blade for the rest.
Do masonry and metal cuts need a different blade?
Yes. Masonry and metal cuts need a blade made for those materials, not the standard wood blade. Some blades for masonry and metal have no teeth or gullets at all. [4]
Instead, they cut with abrasive material on the blade surface. [4] That surface grinds through concrete, brick, tile, or steel, so the blade wears as it works. A wood blade cannot do this job, because its teeth are shaped to slice wood fibers.
Do not put a wood blade on masonry or metal, even for a quick cut. The teeth will chip or dull fast, and the cut will be rough and hard to control.
A simple example
A framing saw is not the right saw for cutting tile. Framing saws are built for lumber, with a blade and tooth pattern meant for wood. Tile needs an abrasive blade made for ceramic or stone, so set up a saw for tile before you start.
The same idea applies to metal and masonry. A blade that works on steel pipe will not work on a concrete block, even though both are hard materials.
Matching the blade to your work
Start with the material you cut most often. Read the blade’s label for the materials it is rated to cut, and use that blade only on those materials. Keep a separate blade for each material rather than swapping one blade back and forth.
If your jobs mix wood, masonry, and metal, a saw with a quick blade change saves time. Changing blades is a small cost compared with ruining a cut or a blade by using the wrong one.
Why do guards and anti-kickback parts matter for durability?
A working guard, splitter and anti-kickback device should be used for all possible sawing operations. [2] On a jobsite, that means every rip, crosscut and bevel cut, including the quick trim cuts that seem too small to need protection.
The guard covers the blade when it is not cutting. The splitter is the piece behind the blade that keeps the cut open, so the wood does not pinch the blade. The anti-kickback device helps stop the workpiece from being thrown back toward you. Each part only does its job while it is still attached and moves freely.
Keep the parts on and use a push stick
Keep the guard, splitter and anti-kickback device in place for every cut, and use a push stick when your hands would otherwise get close to the blade. [2] A push stick lets you feed the last few inches of a narrow board past the blade while your hand stays well back from the teeth.
Never run the saw with any of these parts removed, even for a short cut on a job that is running late. A few seconds saved is not worth the risk of a kickback or a blade contact injury.
What a missing or broken guard tells you
A guard that is missing, bent or broken is more than a safety problem. It is a sign the saw has been abused, and an abused saw wears out sooner. A tool that was run without its protection has usually taken hard knocks, dropped impacts or forced cuts that shorten its working life.
For durability, treat the guard parts as part of the saw, not an accessory. A guard that snaps back freely and closes fully shows the saw has been cared for. A guard you have to hold open or tape in place means the part needs repair or replacement before the saw takes more daily use.
When you compare saws, a complete, working guard system is a good sign that the maker expected the saw to be used hard and often. Choose the saw whose protective parts are solid, easy to adjust and easy to replace, because those are the parts you will touch most often.
Which adjustments should a circular saw have?
Bevel capacity is the adjustment to check first, because it sets how far the blade can tilt. A bevel cut tilts the blade away from square, so the cut edge angles instead of running straight across. Many, but not all, circular saws can make bevel cuts that are over 45 degrees [5]. A 45-degree angle is the one you need for a mitered corner, such as a picture frame or a trim joint.
Why capacity matters on real jobs
Most framing work is square, so a basic saw handles it without trouble. Trim and finish work is different. A crown molding joint, a sloped brace, or a bevel on a sill plate may need a steeper tilt than a basic saw can give.
Before you buy, look at the bevel range on the saw’s specifications, not just the number on the box. If the maximum tilt is too shallow for your typical cuts, you will need a different saw or a second tool for those angles.
Stops save time on repeated angles
Many saws also have stops for the more common angles [5]. A stop is a preset position that locks the base at a set tilt, so you do not have to measure the angle every time. You can see the benefit when you cut a stack of identical braces or repeat the same miter across a wall.
Stops help most when you repeat the same cut. If every cut on a job is a different angle, the stops do less for you, and a smooth, easy-to-read angle scale matters more.
The limit to keep in mind
A saw that cannot bevel far enough will not fit every framing or trim cut. A steep trim angle or an unusual roof pitch can fall outside its range, and no amount of careful setup will change that. The saw’s tilt range is a fixed limit, so decide on it before you commit to a model.
If most of your work is straight framing, a basic bevel range may be enough. If you cut trim, stairs, or angled pieces often, put the bevel range near the top of your list.
What should you check before you buy?
Before you buy, check three things on the spec sheet: the blade, the guard and anti-kickback parts, and bevel capacity with its stops. Start with the blade. Match it to the material you cut most often, such as wood or tile, so you are not forcing the wrong blade through it.
Next, make sure the guard, splitter and anti-kickback device come with the saw and fit it. Then confirm the bevel capacity and stops suit your cuts, since a saw that tilts too little limits the cuts you can make.
Your next step: pick the saw type for your job first, then check these features on its spec sheet.