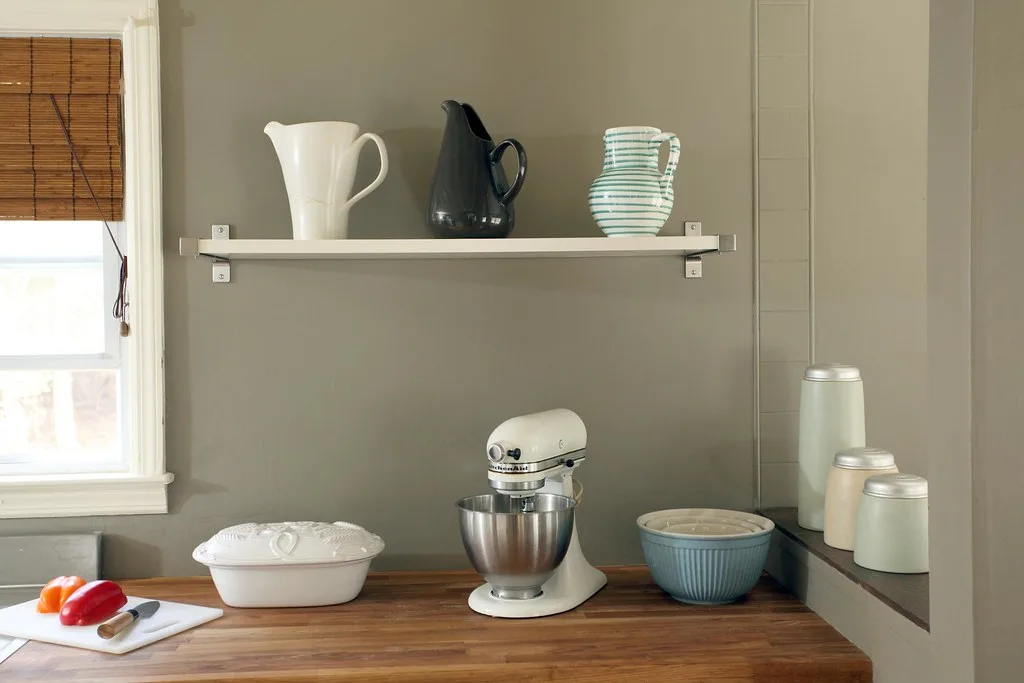
The best way to finish butcher block countertops depends on whether you cut on them. If you chop directly on the wood, use a food-safe oil or wax; if the counter is for prep space, serving or looks, you can use a harder, more protective finish. Oiling and sealing are the two most popular ways to finish butcher block, and they suit those two jobs. [1] It also helps to read The Best Way to Finish Walnut: 6 Finishes Compared by Look.
Picking wrong costs you later: a sealed top is the wrong surface for a knife, and a plain oiled top needs regular upkeep near a sink. Whichever you choose, the work runs in three stages: prep, staining if you want a different color, and sealing. [2]
Below, each finish is matched to how you use your counter, followed by prep, application and upkeep.
Mineral oil for counters you cut on
Plain mineral oil is the simplest finish for a butcher block counter you plan to cut on. It is a food-safe finish [3], so you can slice bread or chop vegetables right on the wood without worrying about what the finish leaves behind. It is also the easiest finish to touch up, because a new coat goes on the same way as the first one.
Why it makes the list
Mineral oil soaks into the wood fibers and stays there. It does not build a film on top. Nothing peels or chips, and knife marks don’t break through a coating, because there is no coating.
That makes upkeep forgiving. If one spot near the cutting area starts looking dry and pale, you oil that spot and the rest of the top doesn’t need anything.
How to put it on
The method is short: flood the surface, give the oil time to soak in, then wipe off whatever is left on top.
-
Pour a generous amount onto the clean, dry top and spread it with a lint-free cloth.
-
Let it sit so the end grain and any thirsty areas can take up as much as they want.
-
Add more oil wherever the wood looks dry while it soaks.
-
Wipe off all the excess so the surface feels dry, not greasy.
An oiled top you don’t wipe down stays tacky and collects crumbs and dust. A properly wiped top looks a little richer in color but feels like bare wood.
Where it falls short
Mineral oil needs frequent renewal. It slowly washes out with cleaning and daily use, so a busy kitchen counter will want a fresh coat far more often than a sealed one.
It also gives the wood little water resistance. A puddle left around the sink or a wet dish rack sitting on the top can still soak in and mark the wood.
Who it suits
-
Cooks who want to chop directly on the counter
-
Anyone who prefers a natural, matte wood look
-
Owners who don’t mind a quick re-oiling as part of regular kitchen care
-
Islands and prep areas away from standing water
If your counter wraps around a sink or you never cut on it, a finish with more water protection will save you work.
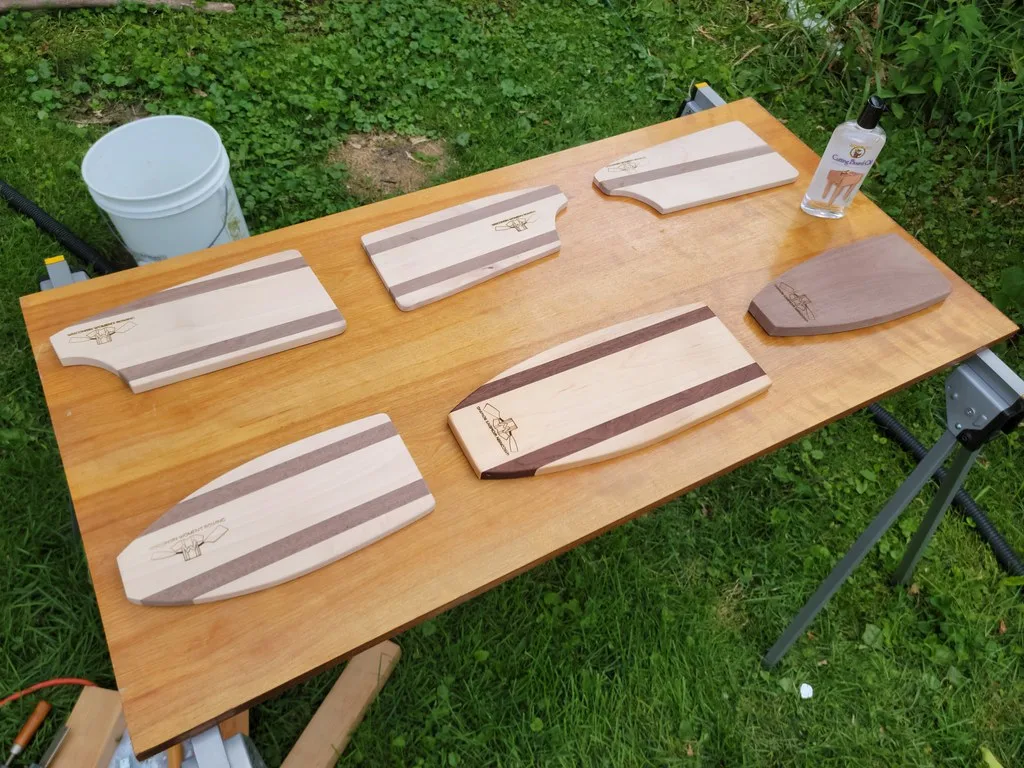
Oil plus wax, like Howard Butcher Block Conditioner or wax
Adding a wax over or alongside oil is the step up from plain oil when you still want to chop directly on your counter. For a cutting surface, Howard Brand Butchers Wax is a recommended product [3]. It keeps the top food-safe while giving the wood a little more protection than oil by itself.
What it is
An oil-and-wax finish pairs a penetrating oil with a soft wax. The oil soaks into the wood fibers, and the wax sits in the surface pores and on top. Products sold for this job, such as Howard Butcher Block Conditioner or Howard Brand Butchers Wax, come ready to wipe on, so you don’t have to mix anything yourself.
Think of the wax as a thin raincoat over the oil. It doesn’t form a hard shell the way a varnish or film sealer does, so a knife edge won’t chip or flake it. Cut marks just blend into the next coat.
Why it earns a spot on the list
Wax gives you a bit more water beading than oil alone. In daily use, a splash from the faucet or a wet cutting board sits on the surface a little longer before it soaks in, which gives you time to wipe it up. That extra margin helps on a counter near the sink or the prep zone where water lands often.
The tradeoff is that this is still a maintenance finish. Wax wears off with scrubbing and chopping, so you renew it on a regular schedule, the same way you would with plain oil. Expect to rub on a fresh coat when the surface starts to look dry or dull.
Who it suits
-
Cooks who chop, slice and roll dough directly on the counter
-
Homeowners who like the low-sheen look of oiled wood but want slightly better spill resistance
-
Anyone who is fine wiping on a quick coat every so often in exchange for a top they can cut on
-
People who want an easy fix for scratches, since you buff in more wax instead of sanding through a film
If you rarely chop on the counter and would rather maintain it less often, a harder finish fits better.

Hard-wax oil, like Rubio Monocoat Oil Plus 2C
Choose a hard-wax oil when you want your counter to keep a natural, oiled look but need it to hold up better than plain oil. Rubio Monocoat Oil Plus 2C is one example: a penetrating, hard-wax oil finish for solid wood surfaces that are not used for chopping [4].
What it is
A penetrating finish soaks into the wood fibers instead of sitting on top as a plastic-like film. That keeps the grain visible and the surface feeling like wood under your hand. The wax component hardens in and near the surface, which gives it more wear resistance than mineral oil alone.
The “2C” in the name means two components: an oil and a separate accelerator that you mix together before use. Plan your work so you mix only what you can spread in one session.
Why it’s on the list
Hard-wax oil sits between the two main approaches. It gives you the look of an oiled top with some of the durability you’d expect from a sealer. It also fills a gap: you get a tougher finish without the glossy, coated look that a film sealer leaves.
Key points at a glance:
-
It is a penetrating hard-wax oil, so the grain stays visible and the surface feels like wood [4].
-
It is intended for solid wood surfaces that aren’t used as a cutting board [4].
-
It wears better than plain oil, so you renew it less often.
-
It repairs in spots: you can work a small worn area again without stripping the whole top.
Who it suits
This finish fits a kitchen island, a dining-height bar top, a desk or a counter run beside the sink where you set down dishes and wipe up spills but always cut on a separate board. For example, a 6-foot walnut island used for serving and homework is a good match.
Skip it if you want to slice bread or chop vegetables directly on the counter. For a top you cut on, stay with a food-safe oil or an oil-and-wax combination. Pick one finish per surface: if one end of the counter is your chopping zone, a butcher block cutting board placed on a hard-wax-oiled top lets you keep both.
Stain and a film sealer for a decorative counter
A stained, sealed top suits a butcher block counter you want for looks, such as an island or a coffee bar where you never chop. Sealing is one of the two most popular ways to finish butcher block, alongside oiling [1]. You trade the easy touch-ups of oil for a tougher surface that shrugs off spills.
Why it makes the list
A film sealer forms a layer on top of the wood instead of soaking in, so it gives you the most water protection of the finishes in this article. That matters next to a sink or a coffee maker, where a puddle can sit for an hour before you notice it. An oiled top would need to be wiped up fast. A sealed one gives you more time.
Stain is the other half of the appeal. It lets you match the counter to your cabinets or floors, for example darkening pale birch or maple to a warm brown.
Order matters
Finishing butcher block runs in three main steps: pre-finish prep, staining, then sealing [2]. The stain always goes on before the sealer, because the sealer locks the color in and stops anything else from soaking into the wood. If you seal first, the stain has nothing to grab.
Let the stain dry fully before your first coat of sealer. Wet stain under a sealer can stay tacky or lift when you brush over it.
Key points before you choose it
-
Stain first, then seal, in that order.
-
The sealed film offers more water resistance than oil or wax.
-
Cutting directly on the top will slice through the film and let water reach bare wood, so keep a separate cutting board on hand.
-
Repairs mean sanding and recoating the damaged area, which is more work than wiping on fresh oil.
-
If your butcher block came with finishing directions, follow them [2]. Some makers specify which products or prep steps to use.
Who it suits
This finish fits you if the counter is mainly decorative or a work surface for serving, homework or a mixer, and you want a specific color. It is a poor match for anyone who wants to chop right on the wood. For that, an oil or wax finish keeps the surface food-safe and easy to refresh.
How do you prep and apply the finish?
Good prep makes the biggest difference in how any finish looks and lasts: sand the block smooth, clean off the dust, then build the finish in thin layers. Sanding smooth and wiping the surface clean comes before any oil, wax or sealer goes on [1]. If your block came with finishing directions from the maker, use those first, since they are written for that wood and any factory treatment [2].
Sand and clean the surface
Work with the grain, and step up through the grits gradually so each finer paper removes the scratches the last one left. Run your hand across the top when you finish. It should feel even, with no raised fibers or rough patches near the ends.
Next, remove the dust. Vacuum the top and the edges, then wipe them with a clean, lint-free cloth. Dust left behind gets trapped in the finish and leaves a gritty feel.
Coat every face
Finish the underside and all the edges along with the top. A block finished only on top takes on and gives off moisture unevenly, and that can make it cup or warp.
Give extra attention to the edges around a sink cutout and the end grain. These spots get the most splashing, and end grain soaks up water fast. Apply a coat to the underside before you set the block in place, because once it is installed you can’t get to it.
Apply thin coats and wipe off the excess
Several thin coats work better than one thick one. With an oil, flood a small area, give it a few minutes to soak in, and then wipe away whatever is still sitting on the surface. Excess left on the top turns sticky and dries unevenly.
Let each coat dry fully before adding the next. When the wood stops absorbing and the surface looks even all over, you can stop.
Handle oily rags safely
Rags soaked in oil can heat up as they dry and catch fire by themselves. Never crumple them into a pile or drop them in the trash. Lay each rag flat outdoors to dry, or put them in a container of water until you can dispose of them.
Keeping the finish in good shape
Plan to renew an oiled or waxed top whenever water stops beading on it and soaks in instead. That darker, thirsty patch near the sink or cutting area is your cue to wipe on another coat before the wood dries out or stains.
Worn spots are easy to fix: sand the dull area lightly by hand, wipe away the dust and apply a fresh thin coat of the same finish so it blends in.
For your next step, match the finish to the job. If you chop on the counter, use a food-safe option like Howard Brand Butchers Wax or mineral oil [3]. If you don’t, a hard-wax oil such as Rubio Monocoat Oil Plus 2C or a sealer gives you more protection [4].